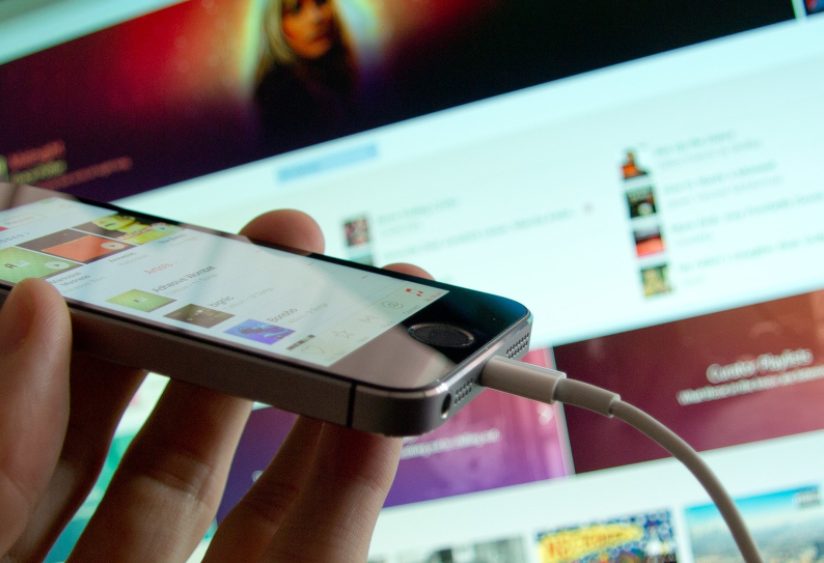
How to sync your iOS with Windows 10 – Detailed guide
- Apr 02, 2019
If you have files on your Windows 10 computer and some other on your iOS devices, and want to have the same ones available on both and up to date, you can simply follow our instructions here.

Once you set up synchronization between iOS and Windows, you can feel free to add music, photos, and other files on either, while the sync is happening quietly in the background.
Step 1: Install iTunes on Windows 10
Apple’s iTunes is required to realize the sync between devices:

1.1 Open your favorite web browser.
1.2 Navigate to www.apple.com/itunes/download.
1.3 Click the Download button.
1.4 Launch the installer.
1.5 Follow the prompts to complete the installation.
1.6 Login with your Apple ID account.
Step 2: Sync Over Lightning or 30-pin USB cable

2.1 Launch iTunes.
2.2 Connect your iOS device to your computer with a Lightning to USB or 30-pin USB cable.
2.3 Click the button represents the device in the top left corner of the Window. (It looks like a small iPhone if it is iPhone that you are using.)
2.4 Click Music in the left side menu.
2.5. Check the option “Sync Music”, and a checkmark will appear.
2.6 Do the same for Photos, Movies, and TV Shows.
2.7 Click Apply.
2.8 Click Sync.
You can also set up Wi-Fi sync, so the files will transfer whenever your devices are connected to the same network:
2.1 Launch iTunes.
2.2 Connect your iOS device to your computer with a Lightning to USB or 30-pin USB cable.
2.3 Click the button represents the device in the top left corner of the Window. (It looks like a small iPhone if it is iPhone that you are using.)
2.4 Scroll down to the bottom.
2.5 For example, it is an iPhone connected, check the option “Sync with this iPhone over Wi-Fi”.
2.6 Click Music in the left side menu.
2.7 Check the option “Sync Music”, and a checkmark will appear.
2.8 Click Apply.
2.9 Click Sync.
Does the above content work for you? Leave comments below if there is any question you would like to ask.
Popular Posts
- What Kind of Programs do You Think are Necessary in Windows 10?
- What’s SpyHunter and How to Fix the File Being Quarantined
- How to Forcibly Remove a Program That Won’t Uninstall in Windows
- 3 Tips to Remove a Program that Won’t Uninstall
- How To Uninstall Applications On Windows 10 – Program Removal Guides
- Tutorial: How to Remove & Uninstall Programs / Applications on Windows 7
Comments
You must be logged in to post a comment.