How to Customize the Quick Access Toolbar in Windows 10
- Jul 31, 2019
If you follow the users closely enough, you would notice that most of them use their PC in very specific ways, which Microsoft provides to accomplish various tasks in Windows. The Quick Access toolbar is one of the easiest.

What is the Quick Access toolbar and where is it?
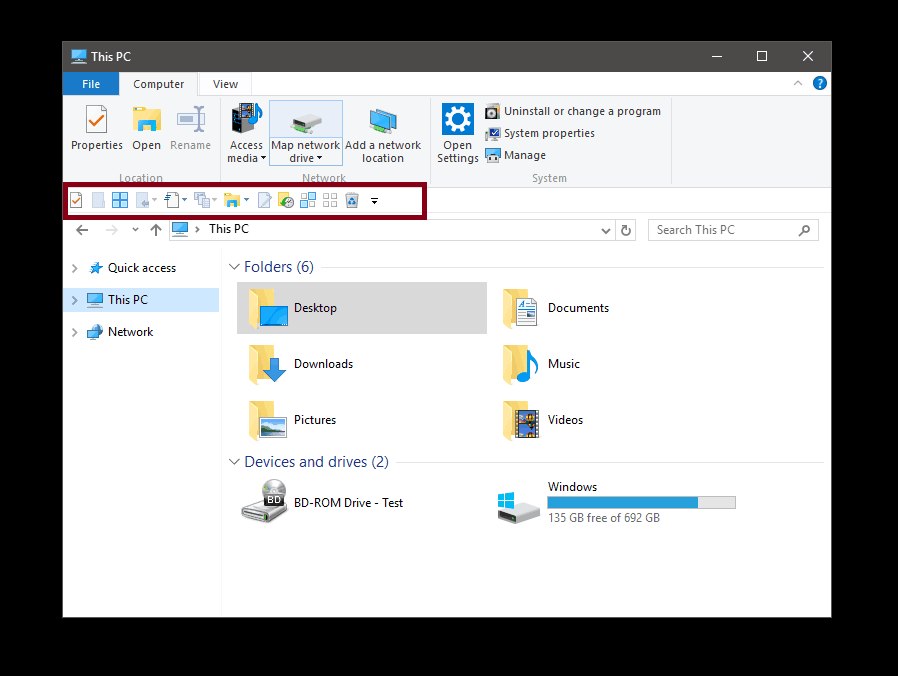
Open any File Explorer window and look at the top. You will see the Quick Access toolbar above or below the ribbon (the various drop-down menus at the top of File Explorer), depending on your settings.
By default (if you haven’t changed the settings), this toolbar has a few options for you to view an item’s properties, create new folders, and other small tasks.

You can customize it with a huge selection of actions and commands, which you probably didn’t know. If you desire a simple way of interacting with the system instead of learning about the various shortcuts to them first, this would be incredibly helpful.
How to customize the Quick Access toolbar?
The toolbar supports up to 20 unique actions for you to easily perform most tasks. The first customization option, which is the simplest one, allows you to change its position:
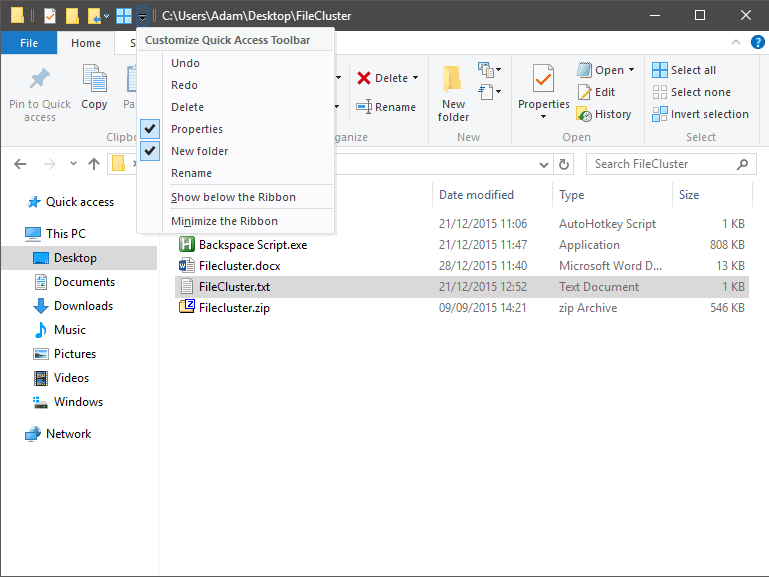
1. Click the drop-down menu on the right.
2. Select the “Show above/below the Ribbon”.

To add and remove commands from the toolbar:
1. Open the same drop-down menu as before, and you will see a list of available commands provided by default.
2. Besides these default options, you can also add most of the items located on the Ribbon by right-clicking on them, and select the “Remove” option, or, un-select them from the menu.

How to reset the Quick Access Toolbar?
Note that doing this means you will lose all the customized commands, which you will have to re-add manually if you need to.
1. Click the Start button, type “exe” and press Enter to access the Registry Editor.
2. Navigate to: HKEY_CURRENT_USER\SOFTWARE\Microsoft\Windows\CurrentVersion\Explorer\Ribbon
3. Delete the DWORD named “QatItems”.
4. Reboot the computer to take effect.

Popular Posts
- What Kind of Programs do You Think are Necessary in Windows 10?
- What’s SpyHunter and How to Fix the File Being Quarantined
- How to Forcibly Remove a Program That Won’t Uninstall in Windows
- 3 Tips to Remove a Program that Won’t Uninstall
- How To Uninstall Applications On Windows 10 – Program Removal Guides
- Tutorial: How to Remove & Uninstall Programs / Applications on Windows 7
Comments
You must be logged in to post a comment.