How to Use Automator To Create Simple Workflows?
- Sep 18, 2020

Most Mac users spend a lot of time and energy performing similar tasks over and over again every day. But once you learn to use Automator on your Mac, all you need to do for this repetitive task is drag and drop some elements onto an automator-generated program.
What is Automator?
Automator is a native app on the Mac. The icon is a small robot that you can use to create a series of workflows and perform simple or complex tasks, such as changing file names in batches, merging multiple PDF documents, or converting video formats using QuickTime, etc.
Using Automator to Create Simple Workflows
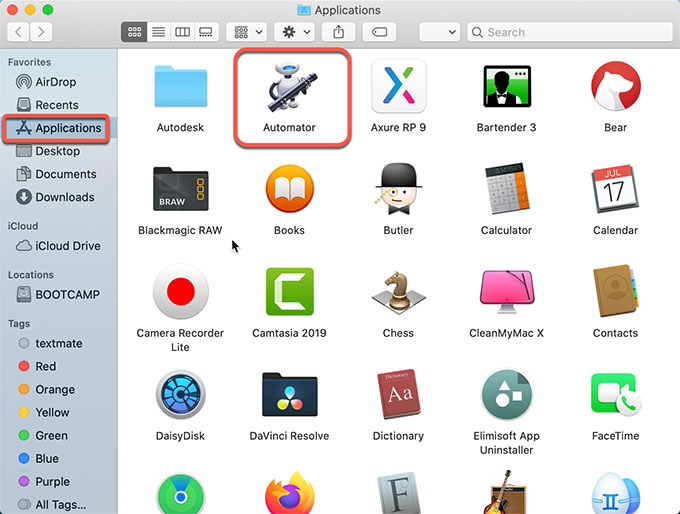
1. Open Automator from your Applications folder.
2. Select New Document in the window that pops up when you first open Automator.
3. Select a type of workflow. There are 8 different types of workflow available. Choose the one you need.
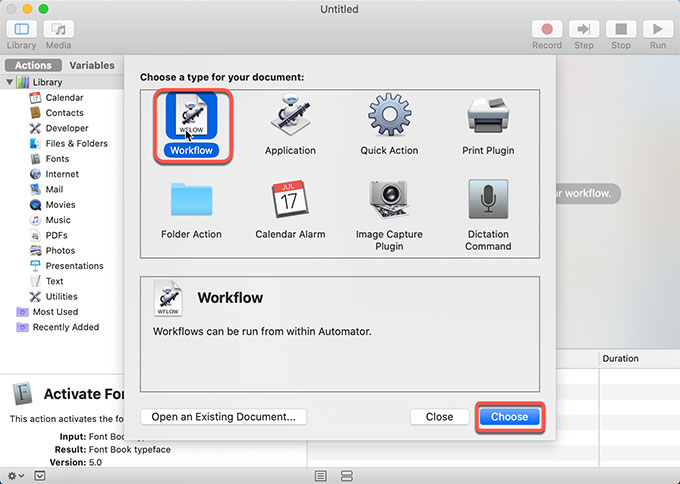
4. Click Choose.
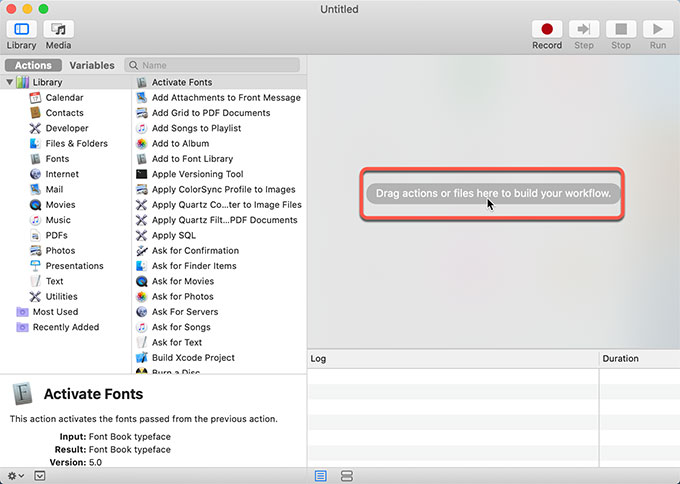
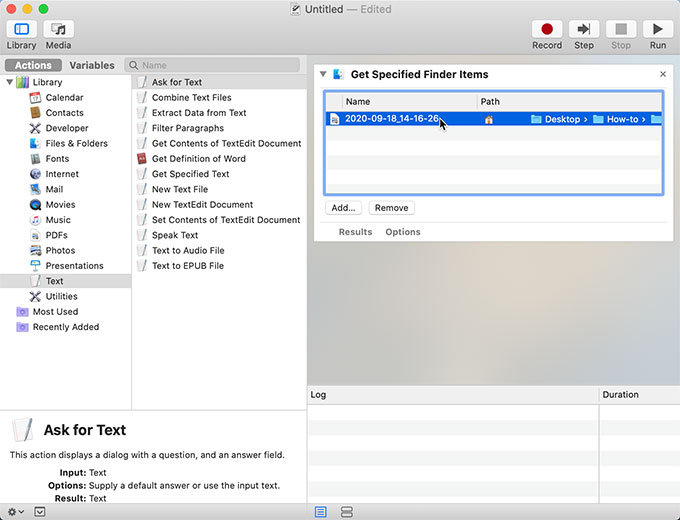
5. After that, you need to add actions to the workflow. To add an action to your workflow, drag actions or files to build your own workflow.
6. Click File and click Save.
In a word, Automator doesn’t require a sophisticated programming knowledge to create powerful automated workflow simply by dragging, clicking, and other visual actions. It can help us turn some daily operations into an automated process, greatly saving time and improving efficiency. It’s as simple and elegant as Workflow on an iOS device. Of course, to get to the next level, you still need to learn some programming languages.
Popular Posts
- What Kind of Programs do You Think are Necessary in Windows 10?
- What’s SpyHunter and How to Fix the File Being Quarantined
- How to Forcibly Remove a Program That Won’t Uninstall in Windows
- 3 Tips to Remove a Program that Won’t Uninstall
- How To Uninstall Applications On Windows 10 – Program Removal Guides
- Tutorial: How to Remove & Uninstall Programs / Applications on Windows 7